Freeing up memory is always useful, especially for installing Minecraft mods. A Step-By-Step Guide Allocate More RAM to Minecraft
The graphics aren’t that challenging for a PC to handle, nor is the game super intensive when the right settings are in place. Thanks to its versatility, Minecraft truly is a game for everyone.
However, for those with a bit more beef to their computers, or just any player wanting more out of their Minecraft experience, there are some ways to make this relatively simple yet iconic sandbox game run even better. Here’s how to allocate more RAM to Minecraft.

Why Allocate More RAM?
For any vanilla Minecraft players, other options might work better for increased performance. Decreasing renders distance and toning down the graphic settings, as well as weather effects, are great ways to start tuning one’s Minecraft to get a nice overall FPS boost. It’s also recommended to install OptiFine for even better graphical performance and smoother gameplay experience.
For most players, allocating more RAM might not even be necessary. The default amount that the launcher allocates is usually more than enough to cater to most players. However, for those with additional RAM, allocating that extra memory can give significant performance boosts. This is especially useful when mods or resource packs are installed.
How Much RAM To Allocate?
It’s also a good idea to check how much RAM the computer uses in general. For those who enjoy multitasking while playing Minecraft, it’s a great idea to have Task Manager open to see how much memory is being used overall. If the meter is constantly high, it might be a good idea to multitask less and possibly invest in additional memory.
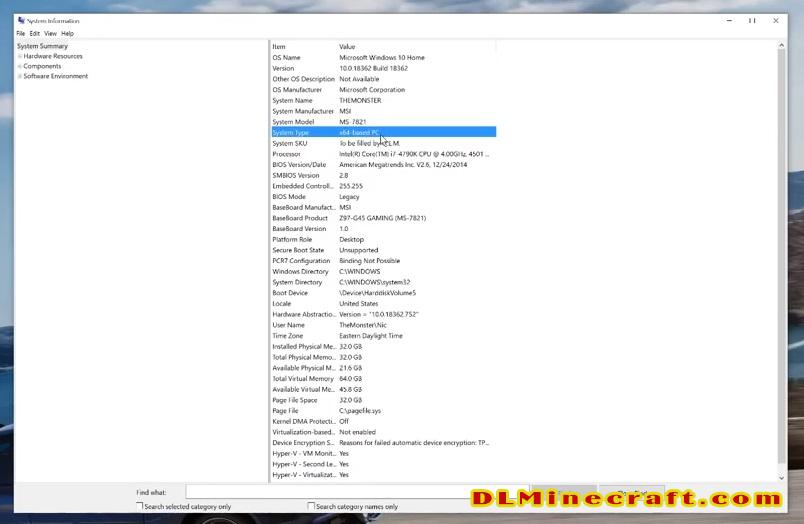
Step 1: Check Available RAM
To check this, press the Windows Start Icon, then click on the cog icon to access Settings. On the left side bar, go down to About, and a page showing all the details on the computer should pop up. In Device Specifications, it will show how much RAM is installed.
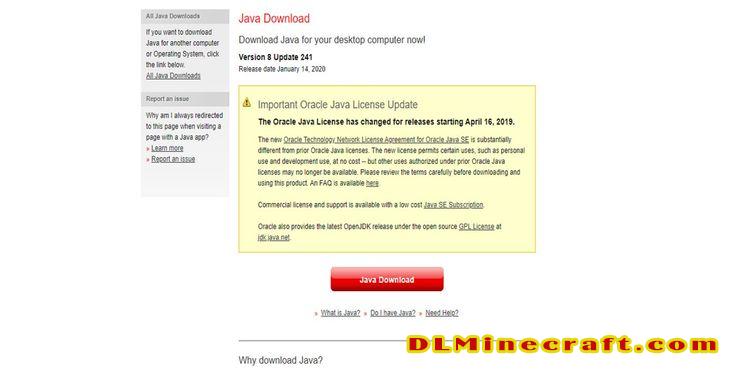
Step 2: Make Sure Everything Is Up To Date
Before doing anything else, it’s vital to make sure the game and its launcher are both up to date. That includes updating Java on the PC as well. On the official Java website, make sure the latest version is downloaded before accessing the Minecraft launcher.
Step 3: Start Up The Minecraft Launcher
In order to allocate more RAM, the launcher needs to be accessed. This is true in the brand new versions of the Minecraft launcher, so with older versions the process is a bit different. It’s recommended to update the launcher to a brand new one for the sake of simplicity.

In the start menu or on desktop, click on the Minecraft launcher icon to start the game. Any updates on the launcher will take place shortly before the launcher pops up on the screen, so make sure not to disrupt them since the latest version of the launcher and game is needed for this.
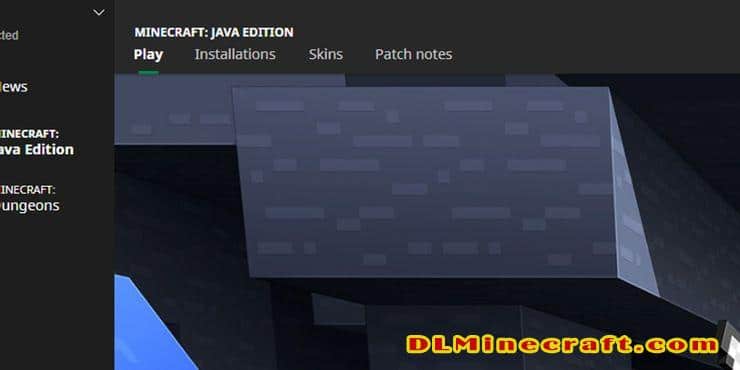
Step 4: Go To Installations
Once the launcher has loaded, there are several tabs at the top of the main screen. At the top of the screen should be a Play tab, Installations tab, Skins tab and Patch notes tab. In order to allocate more RAM, click on the installations tab.
Step 5: Select Profile
In the Installations tab, the player will be able to view any versions of the game that are currently installed and available to play. These include things like the latest snapshot released by Mojang, the latest stable release and any modded versions, such as OptiFine Mod.
Click on the version that you play on the most. It’s important to pick the one the player will be using, otherwise the following steps will make no sense. Generally, it’s recommended to play on the latest release since it tends to have the fewest amount of bugs and issues.
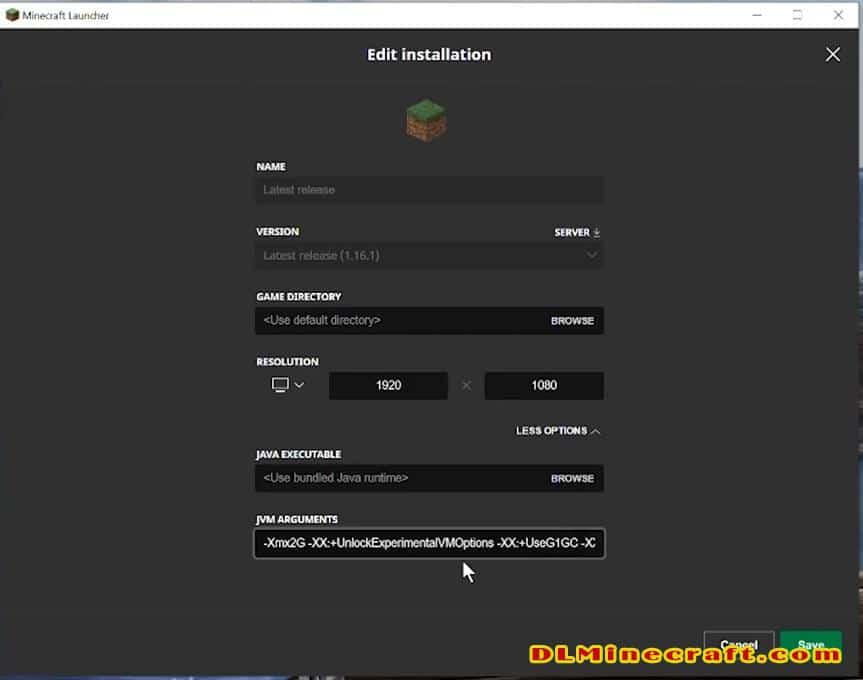
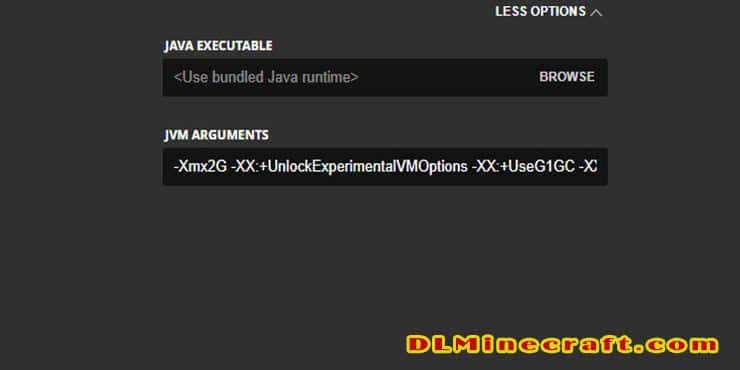
Step 6: Find JVM Arguments
Once you’ve picked the version, hover over it with your cursor. It should show two buttons: Play and three dots. Click on the three dots, and from the drop-down menu choose Edit. This should bring about an Edit Profile screen with various text boxes.
At the bottom of the page, there’s a text box titled JVM Arguments. Depending on the profile and any previous edits, there might already be some text written here. Ignore everything else but the first part, which is “-Xmx2G.” This is the part that determines the amount of RAM.
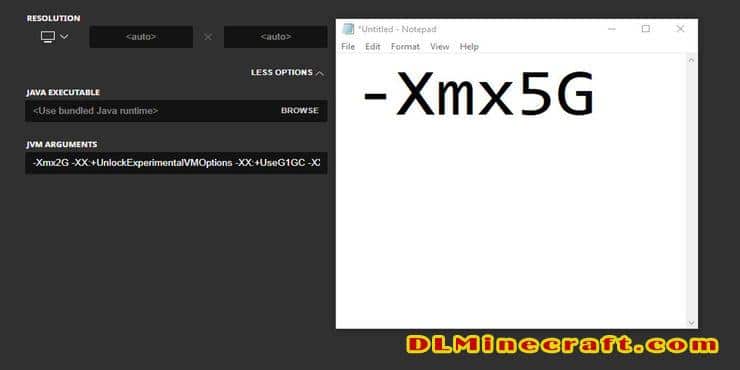
Step 7: Type The Amount Of RAM
Now, we’re going to manually edit how much RAM Minecraft can use on the computer. In “-Xmx2G”, the number “2” indicates the amount of RAM that the computer is allowed to use to run the game. This is the number that needs to be edited, and only this number. Don’t touch anything else!
Keeping in mind how much RAM was available, type in a desired amount of RAM. Again, it’s important not to allocate too much RAM, so try to keep in mind the limits of your PC. Generally, one or two more won’t hurt, but everyone’s PC is different.
Step 8: Save Profile
Once the desired amount of RAM has been edited into the text, check any additional information on the profile. Try not to edit the rest of the text because it can mess with the game and the launcher.
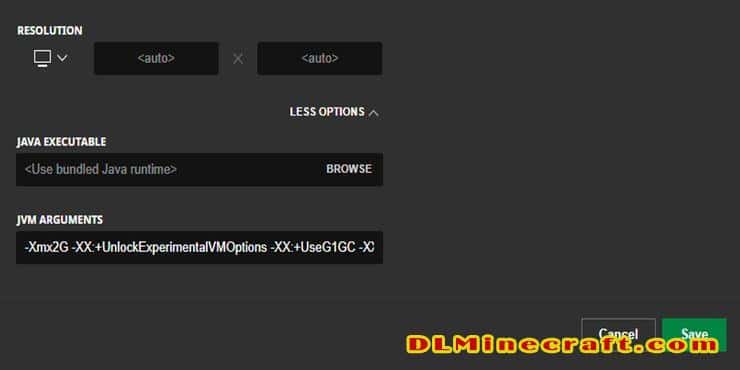
After everything is all set, it’s important to remember to press the green Save button at the bottom of the page, which will confirm all the changes made into the profile. Finally, make sure this profile is actually selected when launching the game from the main page of the launcher.
