What is Schematica Mod?
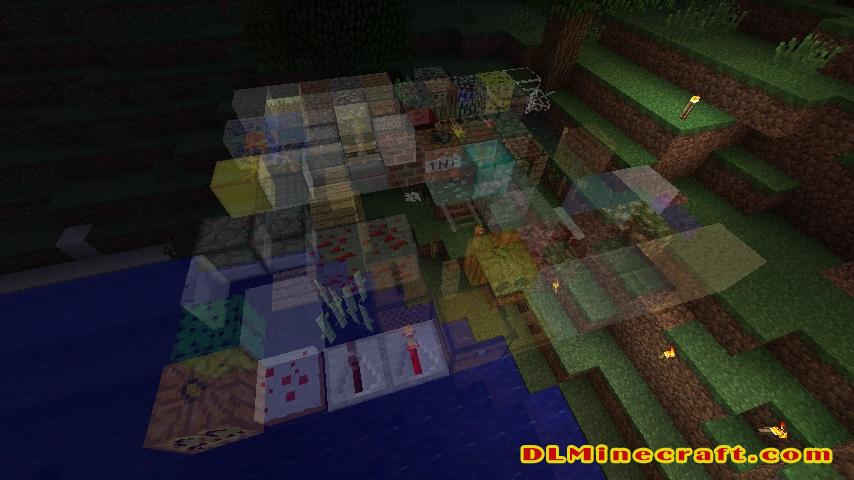
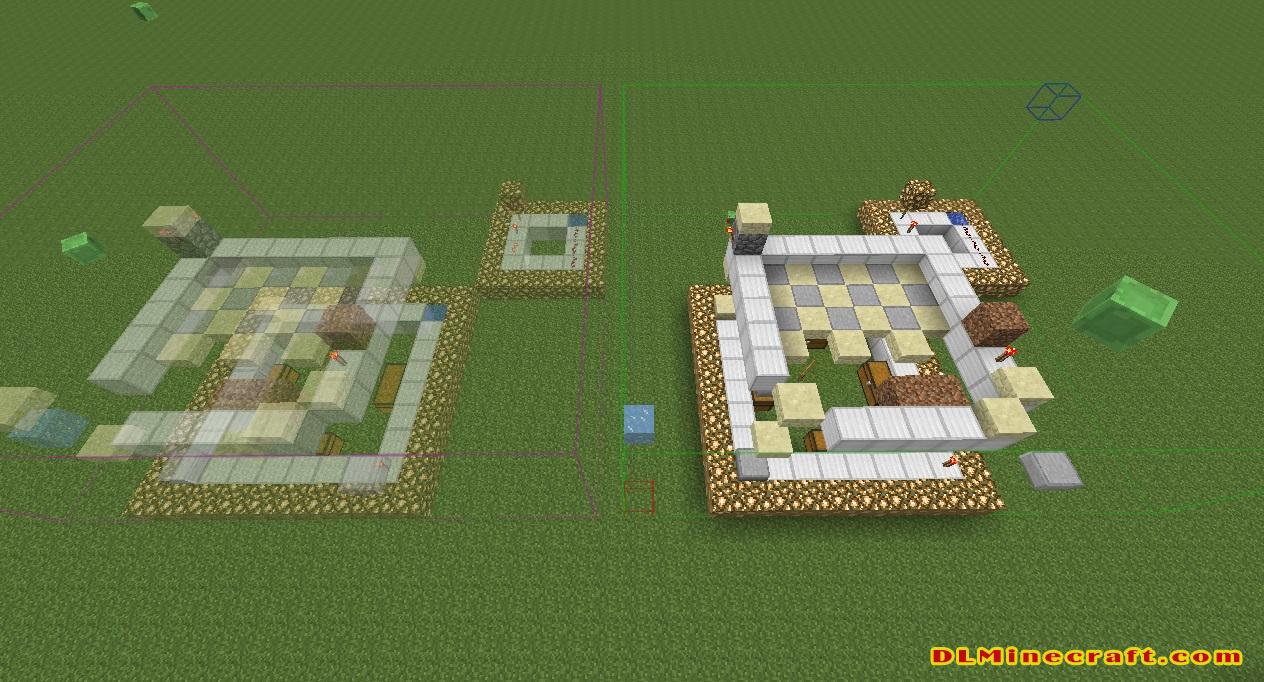
With Schematica Mod you’re able to display a ghost image of a schematic file inside Minecraft to rebuild a structure or export any part of your world (or a server’s world) into a schematic file. You’re able to export parts of your world, too.
Schematica Mod 1.16,1.12.2 allows you to display a hologram, loaded from a schematic file, for easier rebuilding. You can also save your creations to schematic files and share them.
Simple Block Codes:
Server owners might want to disable particular functionalities of a mod. To do so, send the code(s) you wish to the players in the MOTD (must be in the first 10 lines!).
![]()
Format (informational for other modders)
§0§2– header§e§f– footer
Codes
§0§2§0§0§e§f– disable printer functionality§0§2§1§0§e§f– disable save schematic functionality§0§2§1§1§e§f– disable load schematic functionality
How to use:
General
The mod is primarily controlled with 3 GUI’s, accessed via the NUM_/ (load), NUM_* (save) and NUM_- (navigate loaded schematic) keys. You can change these to anything you want.
After the initial run the mod will create a schematics folder in your .minecraft folder. Put your schematic files into that folder and launch Minecraft. You are now able to load the schematics into your world using the load key and manipulate them with the manipulate key. Additional you can export parts of your map by using the save key. With the help of this GUI you select 2 points in your world and click enable (you can enable is before, but the default position is at 0,0,0 for both points). When you’re happy with the selected area just click write down the name into the textbox and click save.
To set a custom schematic for a schematic file simple prefix the file name with the ID of the item you want to be visible (optionally followed by a semicolon and the item damage/metadata). A few examples:
116;enchantment– enchantment table icon258;forrest– iron axe icon35:4;sheepfarm– yellow wool icon
Printer
Before enabling the printer make sure you have the required materials on your hotbar. It’s a vanilla restriction that can’t be bypassed with a client only mod. Once the printer is enabled and you have the correct blocks in your hotbar just walk around and the mod should start placing blocks around you.
Notes: The mods was made with legit players in mind. Things such as the import of a schematic into a world might be released as a separate mod that extends all the currently available functions. That particular mod will allow you to sync multiple schematics but only one can be visible at any given time for a specific player. Basically, any amount of schematics on a server but only one can be seen by a player (that’s the player’s choice).
Requirements
- Minecraft Forge
- LunatriusCore (1.7.2+ only)
FAQ:
Which is the latest version of Minecraft Forge?
The latest version of Minecraft Forge is 1.16.5. The latest recommended version of Minecraft Forge is 1.15.2; Minecraft Forge (Modding API) is heavily installed at versions 1.15.2,1.12.2. Some mods require a specific version of Minecraft Forge. New version of Minecraft Forge 1.16.5 has less testing, and many mods do not support it.
How do you download Minecraft Forge?
First, head to Minecraft forge and download the program. You want to make sure that you download the version of Forge that corresponds to the version of Minecraft you have, Select the Minecraft Forge menu on the right side of this website.
Do you have to have Minecraft to use forge?
Yes, Make sure you have Minecraft installed.Minecraft Forge only works for Minecraft: Java Edition. Minecraft for PC, XBox One and PS4 cannot be modded.
Is modding Minecraft illegal?
No, modding Minecraft is not illegal.
Related Mods:
How to install Schematica Mod With Forge
- Make sure you have Minecraft Forge and LunatriusCore.
- Download Schematica Mod file from link(s) below/above
- On PC Windows, Go to the Start menu
Type: %appdata%/.minecraft
Press Enter to Run %appdata%/.minecraft
- On macOS open finder, hold down ALT, and click Go then Library in the top menu bar. Open the folder Application Support and look for Minecraft.
- Go to minecraft/modsfolder
If Mods folder does not exist, create one
- Put Schematica Mod file into the mods folder
- Launch Minecraft using Forge Profile, then Open Menu
- Good luck to you!
Minecraft Forge(Modding API) Installation Guide
5 steps to successfully install Forge Minecraft
1. Access and Download select Minecraft forge version, then download the installer.
2. Requires installing Java on a computer. Open the .jar file you just downloaded, make sure ‘Install Client’ is selected, and click the OK button.
3. Run Minecraft and select the Forge profile, then click Play.
4. Select the Minecraft Forge menu on the left and the Mods button below Multiplayer.
5. Successfully, you can enjoy the mod just installed.
if u want this mod for 1.16.5 jst know that the mod name changed to litematica and it has support for 1.16.5
Download Schematica Mod 1.16, 1.12.2,1.10.2 and 1.7.10
Author: Lunatrius

Schrotti 09-10-2021 02:27
Link 1.16 dont work or maybe whole prg
Steven 19-10-2021 10:57
if u want this mod for 1.16.5 jst know that the mod name changed to litematica and it has support for 1.16.5